Photo Sculpture 2
In this lesson we finished making our second photo sculpture, which we made using our previous pictures that you can find on my first edges page. Then we went out with our finished photo sculpture around the school to take pictures of it in different locations. I think that that this task was okay, I couldn't take many pictures outside as it was too windy and my sculpture was falling apart so I had to take most of the pictures inside, I don't really like how my images came out, probably because of the fact that they were all taken inside the building. I think to improve, I should have spent more time thinking about how I made my photo sculpture, I could have improved it by making it more abstract and adding more bright colours so that it would look more interesting. My favourite pictures are the ones that I took outside, probably because I prefer the natural light in them. To improve these pictures I should have thought more about perspective and angle, which is unusual as this is something that I usually do well.


Tate Modern
We went out with our class to see the Tate Modern, I found this trip really fun. In the Tate Modern there were many great opportunities to take pictures and we were also given a few activities to complete whilst we were looking around. There was many interesting works in the gallery, I especially liked the exhibition with the lit up signs, it was probably my favourite place in the gallery. On this trip I took many pictures that had people in them and I think that the ones that include people are my most successful pictures. Most of these photographs are different from the ones that I would usually take, I actually find these more interesting than my usual photographs probably because i was using a range of different elements rather than just perspective, angle, etc, etc.
Here are the images that I took:


Photo Sculpture 1
These are the images that I have chosen for my paper sculpture, they aren't necessarily my 'favourite' images however they are my most successful ones. All of these images focus on the theme of edges. Looking at these images I can see that I should start focusing more on colour and abstract pictures so I can vary my work.


Photo Sculpture: Photoshop
We went out to take out 10 pictures of landscapes that we found interesting and then had to choose one to use for our final product.


Photo sculpture on a white background:
|
|


Final product:
|
|


Firstly we had to go out and take pictures of 10 landscapes around the school that we want to see our photo sculpture photoshopped onto, then we found a place that has a plain white background and we took a picture of our photo sculpture there, me and my partner went to my tutor room because the back of the classroom had a plain white wall. After we took a picture of our sculpture on a white wall we uploaded it onto our laptop and opened one of the landscape onto photoshop and the picture of our sculpture on a white wall, we removed the white from the back of the photo sculpture and then resized it an moved it into place. I found this task interesting, it wasn't as hard as I thought it was going to be. I think that the locations are places that worked well. I think to improve my work I should have added a shadow to the final product to make it more interesting.
My Exhibition
For a homework project we had to take 20 images, make a poster and hold a exhibition. I did my exhibition at downham leisure centre on a whiteboard, the pictures were printed out on photographic paper so it was quite expensive. I took the pictures on a field near my mums friends house, on the field there was a forest and there were also a few horses running around, I took my brother and his friend and we went out to take pictures. I think that my exhibition went quite well, the part that I enjoyed most was probably making the poster, it was the most simple task but it was my favourite. There was a decent amount of people that looked at it, including some staff members. The hardest part of this project was actually holding the exhibition because the pictures kept falling off the board and people didn't know what it was and why it was there.
The poster: (I accidently wrote expedition instead of exhibition) The pictures:

|
(make these into a slideshow instead)
|


|
|


Postcard Collages
The task of this lesson was to print out some of your previous images, cut them out and then stick them on a card and use a circle cutter to create interesting collages/layouts which we then took pictures of. I think that this task was easy. My pictures came out quite well, I prefer the simple ones over the more complicated ones, I like how minimal they are. I also like the composition of the last 3 images, the orange stands out between the other colours.


Final Piece
At the beginning of this project my pinhole camera was not working and I was not getting any results, this went on for about 2-3 lessons until I finally figured out why it wasn't working, a few of the reasons why it didn't work were: We tried to make the pinholes inside, which didn't work as we didn't use natural lighting (which is necessary for pinhole exposures), another reason why was because I either exposed it for too long or for not enough time. In the 4th lesson I finally got some exposures, I exposed the paper for 6-7 seconds and ended up with some interesting images.
For my final piece I created a simple photo book and stuck my pinhole images in the centre of each page, I was going for a minimalistic approach, I think this turned out quite well, I also made another version of that photo book which had the same pinhole images as the first book did however the images were positive instead of negative. To improve I should have: Made sure that the images were cut accurately so that they all had straight sides. I could have also scanned the images in and printed them so that they would be a bit bigger than they turned out to be. Another thing that I could have added was, a small paragraph about each image.
If I had more time for my final piece I would have: Firstly, I would take more time on my pinholes, I would think more about where I took them and I would make sure that they had a range of textures or tones so that the final outcome would be more interesting. I would also try to play around with the chemicals and the photographic paper because me and my friend found out that you can create interesting images using only the paper and chemicals (Chemigram). When making the book I would make sure that the paper has been cut straight and that all the pieces are the same size, I would also trim the images so that they would be cut straight and maybe add a small conclusion to each image.
(take photos of books and then upload them)
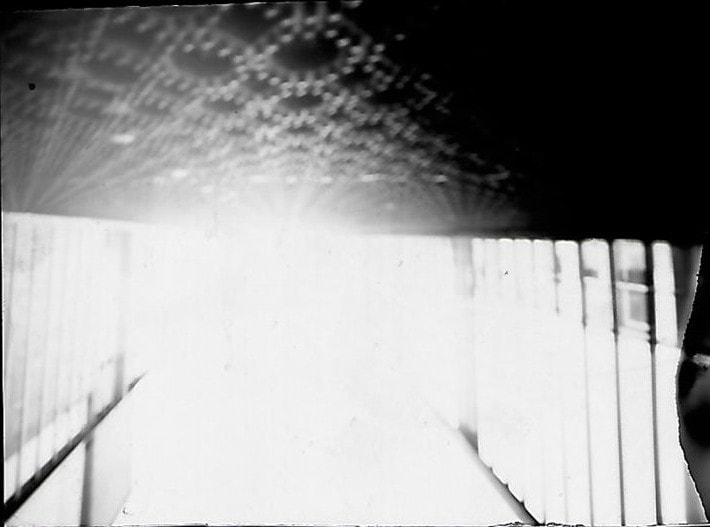
These are my negative exposures. I think that they turned out quite abstract, the images are all blurry and unclear, I like how they turned out, they have a sort of 'creepy' vibe to them which was taken away when I made the images positive, they wouldn't be as interesting if they were clear and focused, when you look at them you have to figure out what the picture is actually of where as if I made sure that they were clear and put them into the chemicals evenly then they'd be too 'perfect', I wanted to create something different.


These are my exposures in positive. I took my exposures home to scan them in, then I sent the images from my laptop to my phone and on my phone I edited the images and changed them to be positive, I then uploaded the images to onedrive and uploaded them onto weebly. I prefer my images in negative, they look more interesting that way because, you can't really see what the objects are and you have to think about it, in the positive exposures you can see exactly what they are and that makes them too 'normal', that doesn't mean that I think their all bad, I like the image of the brick wall, it reminds me of a picture that I would actually take with a digital camera.